Converting a swimming pool into a sustainable and biologically active pond is easier than you may think
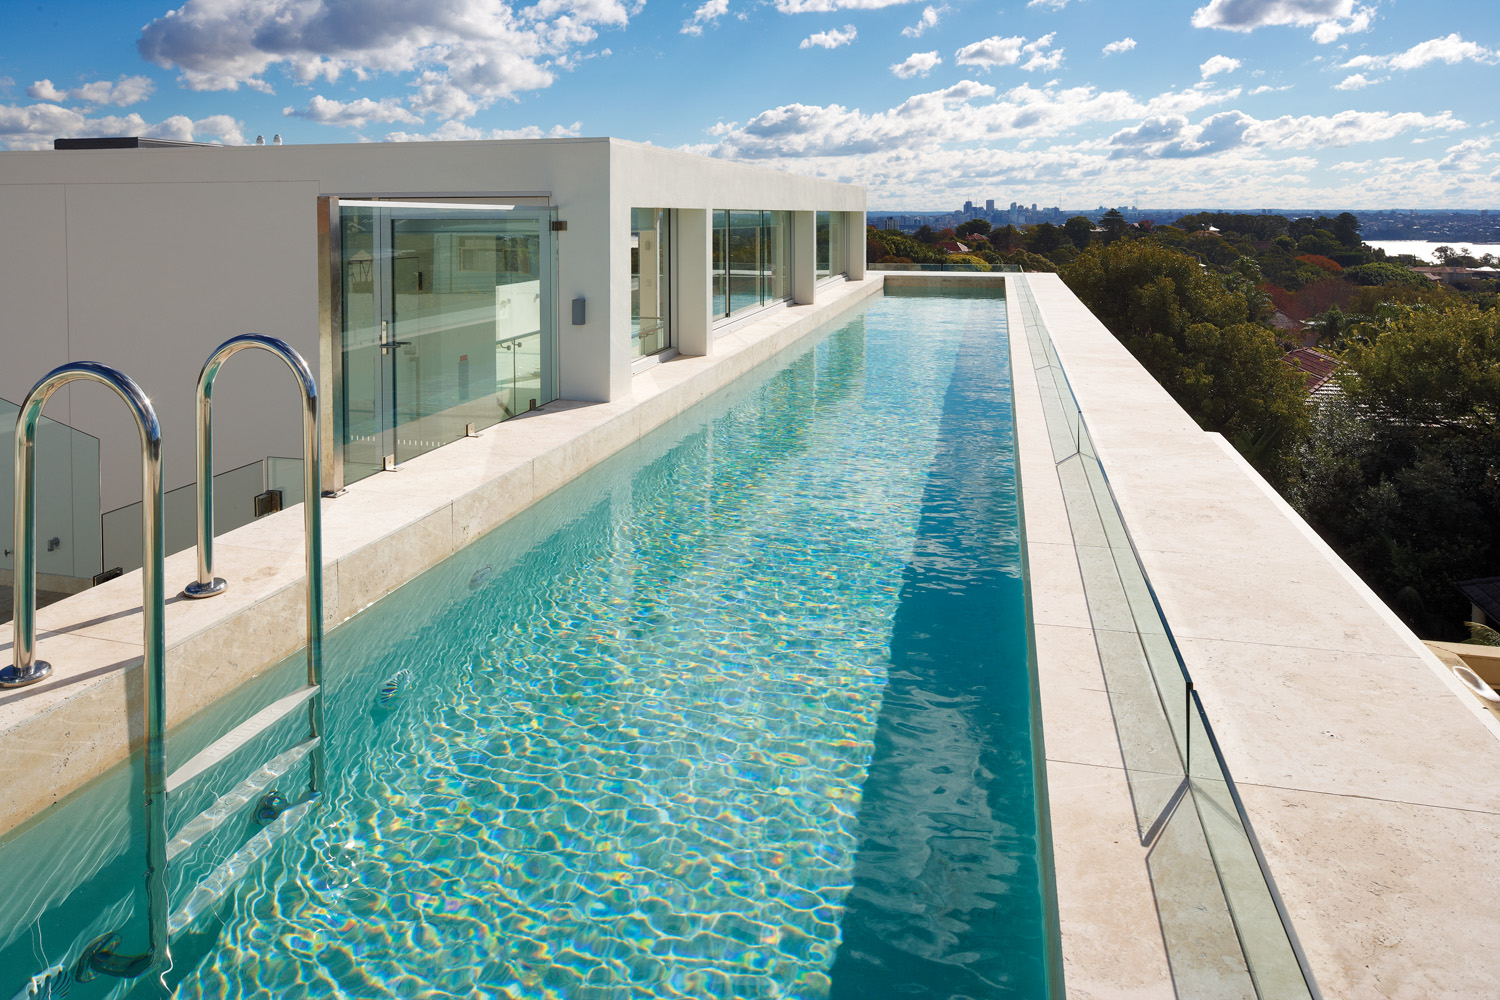
Homeowners who find the backyard swimming pool has lost its appeal and is no longer used opt for either covering it year-round or filling it in. Some pools become garden, sunken patios or grassed play areas. But there is another alternative that is appealing and gaining momentum: converting your pool into a wildlife pond.
Most swimming pools are over-maintained and under-utilised and, of course, there is growing concern about the chemicals used to keep water quality high and about wasting water. You don’t have to be stuck with a watery money pit or waste of space; you can choose to create a natural habitat that is environmentally sound, wildlife attracting and aesthetically pleasing. No matter where you live, local animals will be attracted to a much-needed wetland home.
Why pool to pond?
Pools are high maintenance, expensive to run (both monetarily and environmentally) and time-consuming. Creating an inviting, natural habitat is creative, sustainable and rewarding. And it also provides a large source of clean, fresh water. It’s worth knowing that this pond conversion can be reversed.
Converting a swimming pool might sound daunting, yet it is unexpectedly easy, though requires a lot of manual labour. But there are definitely wrong and right ways to do it, and expert advice can be the first port of call if you want to transform your pool into a pond. Here are the basic steps.
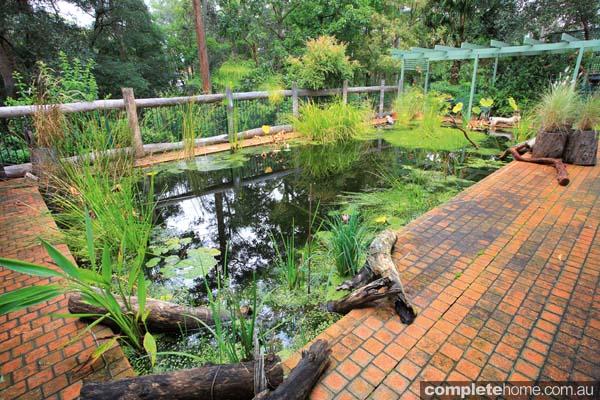
Plan and design. Look at your existing pool and think about the best design for your garden space. Even a seemingly boring rectangular pool can metamorphose into a unrecognisable natural oasis or billabong, so don’t be putt off by the style or shape of your pool.
Create a small-scale drawing of the new pond, taking into consideration your current swimming pool’s dimensions (including depth), the surrounding landscape and possible garden areas, while keeping in mind the safety of children, pets and wildlife. The right finished depth of the pond is something to carefully consider: up to one metre will allow you to wade in the water for service, cleaning, planting and cooling-off.
Features such as trickling water over rocks, little sandy beaches and other natural inclusions can be emulated from nature; all you have to do is look at the bushland creeks close by or search the internet for natural pond ideas. Of course, a landscape gardener can offer practical advice if needed.
Turn off the pump and filter. If you have a chlorinated pool, stop using chlorine or salt. After a few days the chlorine will dissipate from the water, which can then be pumped out over grass, garden beds or into a holding tank if you have one. As a precaution, don’t use it on edibles or for drinking water. Chlorine containers, full or empty, must be disposed of properly. Contact your local council for information about hazardous waste collection days or disposal information.
Lining considerations. If your pool has a plastic liner it will need to be removed. Concrete pools will need to be pressure-washed by a professional to remove traces of residual chlorine or other chemicals that may be toxic to aquatic life. Fibreglass pools need to be washed down with clean water — soft pressure-wash if you like.
Call and expert. A pond will need a biological filtration system and it’s wise to consult an ecological specialist to establish the best strategy. Filtration happens through a reed or plant bed and the right types of plants and installation are critical. It is also a good idea to seek the advice of a local horticulturist or aquatic plant specialist to find the best types of water plants (and those for filtration) that suit your region best. We featured the benefits of barley straw as a natural algaecide in XXXXX Vol ? No ? XXXX issue of Good Organic Gardening magazine.
Mark-out the pond. Using a rope or hose, mark the outline of the pond including space for the filtration system and any plumbing or other structures needed.
Base layer. Once the pool is empty and clean, the initial construction can start. Truckloads of aggregate, with or without clean soil, can be emptied into the pond void. You can give the pond a contoured bottom by adding varying levels of aggregate mix. Shovel and rake, layer by layer. This can be pretty time-consuming and physically exhausting but it’s essential to get the pond foundation right and compacted properly. Each layer can be wetted with water and walked over (or hire a vibrating plate compactor) to pack it down nicely. Keep adding aggregate to within 1–1.5 metres of the old waterline. The base layer may take a week or two to settle and firm.
Tip: Sandbags are half-filled with sand can form a contoured pond bottom. Fill the pool to 1.5–2 metres from the old waterline with aggregate and rake to a level finish. Stack the sandbags on their sides to decrease in height from the edge of the pool to the centre, create islands or pond garden spaces. Once in position, cover with aggregate and tread down.
Top off. There are two schools of thought on how to top off the aggregate base layer. You can cover the finished bottom layer with pond liner or geotextile fabric before adding coarse sand. This gives a firm base and stops the next layer mingling with or infiltrating the bottom layer. Cover the entire area, including contours, and cut well past the outer edge of the pond. Fasten down with flat, heavy rocks (ironstone or sandstone look authentic). An extra pair of hands is a good idea, as is getting advice from a landscaper if in doubt.
Whether a liner or geotextile fabric is used or not, the final layer is to simply top off with coarse sand. This sand layer should be about 800mm to 1m deep, providing a most effective and very firm base on which to wade, without sinking — as you may think you would.
Tip: Remember to leave open spaces along the top where the inflow and outflow pipes, filtration and planting beds are to be installed.
Just add water. Ideally, rainwater should be added to your natural oasis. Use tank water if you have a tank reservoir for garden purposes, otherwise you can truck in water or use mains water. Any water additives or impurities will dissipate from the water after a few sunny days so refrain from planting or adding fish until then.
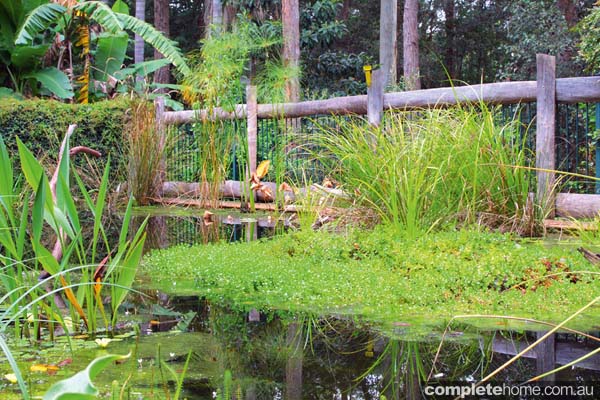
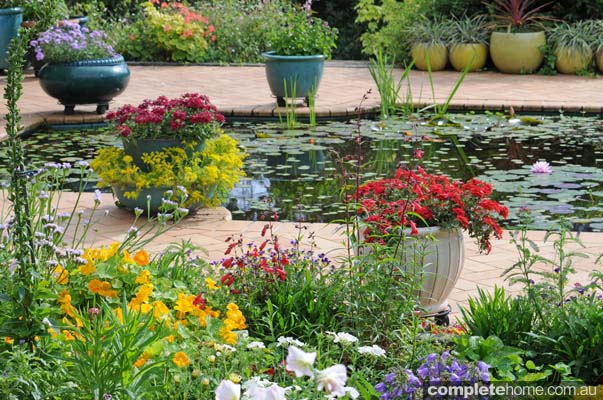
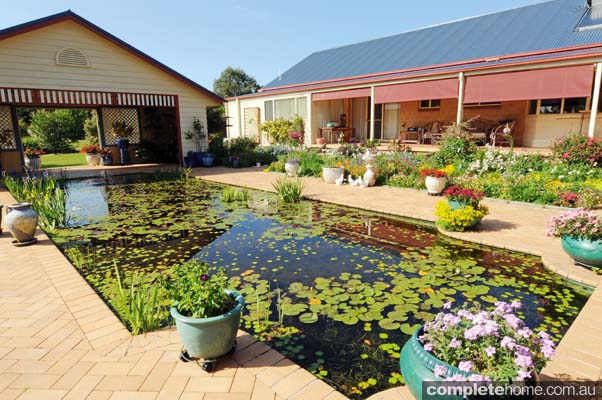
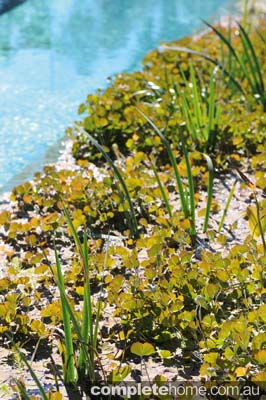
Place and plant. This is the most enjoyable part. You will need to seek good advice from a reputable aquatic plant specialist about suitable and reliable aquatic foliaged or flowering species to pop into your pond. Some plants need to be contained in their pots. This will not only keep them in check but will also give you the opportunity to move them if required.
If your climatic zone allows, ferns, orchids and other lush natives can be planted around the pond to add beauty and more habitats for pondside dwellers such as skinks and geckos.
Read the plant label carefully, as some aquatic plants like to be fully immersed, some partially underwater and others float on the water’s surface.
Other “pond furniture”, such as logs and arched rocks, provide sunning and hiding places for pond wildlife. And don’t forget that logs jutting out of the water and onto the edge provide ramps for wildlife.
Tip: Put Besser blocks, bricks or pavers into the sand to provide different pedestals on which plant pots can be positioned. This prevents plants sinking and can add height interest.
Fish and more. The biodiversity of your pond is crucial and you can, of course, add fish, aquatic snails and tadpoles, even though frogs will come quickly to your (their!) new waterhole. When choosing fish, always go to a reputable fish stocker and buy Australian species. Make sure, too, that the species of fish will not eat frogs, their eggs or tadpoles.